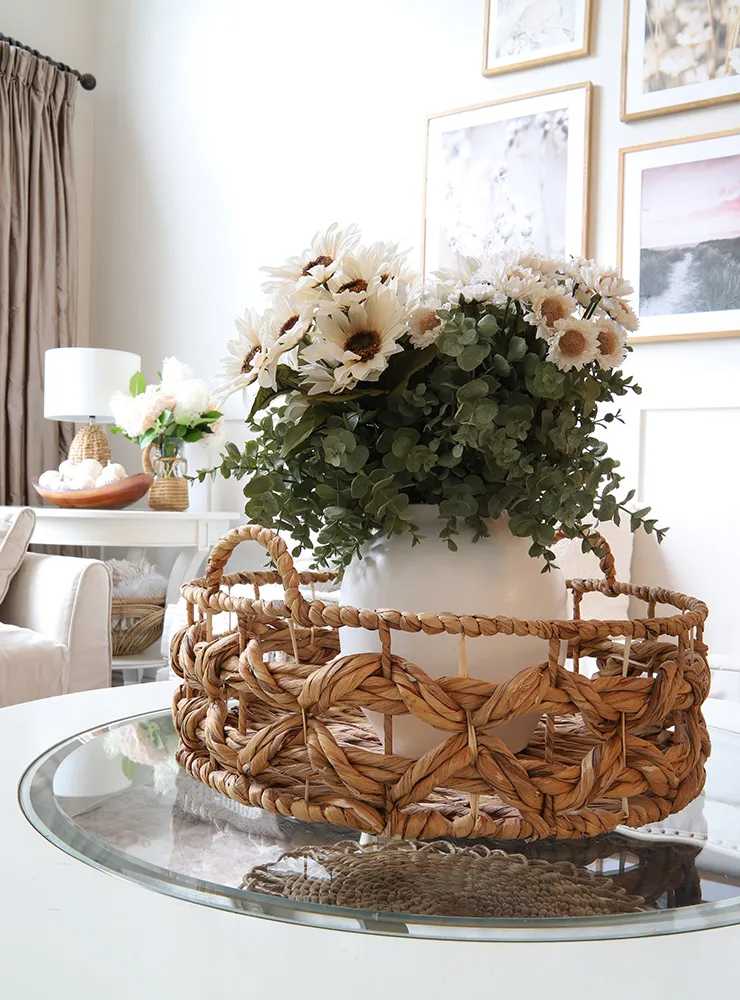
I’m really excited to share my first Easter project of the season, my DIY Easter egg vase display. This delicate Easter display takes an ordinary glass hurricane vase and gives it some Easter charm with an array of pastel-coloured eggs and faux apple blossom branches. In this post, I will show you how to create this vase display and will show it styled two different ways. It works beautifully as a coffee table centerpiece or displayed in a pair on a fireplace mantel. I’ll bet you could find other creative ways to style it!
For this project, I used my favourite paint, Fusion Mineral Paint in four different shades. I made 4 custom colours using 5 different tester sizes of the paint.

The painting takes several hours (3-4 hours) if you want to prepare 80 eggs to fill two large vases. If you plan to fill only one vase, halve the recipe and your prep time will also be much shorter (1.5-2 hours). I think it’s worth the investment of time though because you can use these eggs year after year. The bonus of doing them yourself is that you can easily create custom colours and it’s more affordable than buying 80 eggs of this quality.
Supply list for 2 vases:
- 2 tall glass hurricane vases (mine are 7” in diameter and 17” tall)
- 80 matte plastic eggs (Dollar Store or Michaels)
- 4 stems faux apple blossom branches
- Fusion Mineral Paints:
- Casement (bright white), 500 mL
- French Eggshell (green-blue), 37 mL
- Little Speckled Frog (yellow-green), 37 mL
- Laurentian (mint green), 37 mL
- Pebble (mid-tone grey), 37 mL
- Greyish brown craft paint (I used Martha Stewart Satin Craft Paint, 59 mL, Vanilla Bean and Arrowhead mixed 50/50)
- Parchment paper
- Greening pins or toothpicks, at least 40
- 1″ foam paint brushes
- Stiff-haired stencil brush
- Plastic painter’s palette
- Popsicle sticks for mixing paints
- Small plastic (lidded) containers for mixing paints (washed small cream cheese containers are perfect)
- Small amount of metal wire or green yarn to tie the floral stems together
Instructions
For more detailed instructions on how to paint these Easter eggs, visit my post, DIY Robin’s Eggs for Easter. Note- that post uses a single colour of chalk paint for the eggs, but there are some good instructions on painting technique and getting the speckled finish.
Mix your four custom colours
*Note- paint 20 eggs in each of the 4 mixed colours for the 80 eggs needed for two large vases.
- To get the pale greenish-blue: Mix one part French Eggshell (use about 1/3 of a tester pot) with 2 parts Casement (2/3 of tester)
- Little Speckled Frog is used right out of the tester pot to achieve the pale yellow-green colour
- To get the light mint green: Mix one part Laurentian (1/3 of tester) with 2 parts Casement (2/3 of tester)
- To get the pale grey: Mix one part Pebble (1/3 of tester) with 2 parts Casement (2/3 of tester)
- Amounts do not need to be overly precise and you can use popsicle sticks to transfer paint to a mixing container and to carefully stir the paints
- Test your colours on a piece of white paper or cardstock and wait for them to dry to ensure you are happy with the colours and how they work together
Get painting
- Spread out some parchment paper and lay down 20 greening pins (or 20 pairs of toothpicks) spaced several inches apart
- Hold an egg in your non-dominant hand and use a foam brush in your other hand to paint half of the egg
- Carefully place the egg, painted side up, on the greening pin so it doesn’t roll away
- Paint each egg in the same colour and in the same manner
- Once all 20 eggs are painted on one side, the first eggs painted will likely be dry enough to paint the other side
- Paint the second side for each of the 20 eggs
- Wait 20 minutes before starting the second coat
- Paint in the same manner as the first coat
- Note- don’t apply the paint too thickly
- Repeat the above steps for each colour
- While you’re waiting between coats, you can start another colour with another set of 20 eggs if you have the space
Add the speckling
- Once you have painted all 80 eggs, mix about 1 tsp Martha Stewart Arrowhead with 1 tsp Martha Stewart Vanilla Bean with 1 tsp water in a deep painters palette
- Dip your stencil brush into the watery paint, then dab it on a clean part of the palette to remove a little excess paint
- Using your thumb, flick the paint onto the eggs from a distance of about 4-8 inches
- Once the up-side of the eggs have dried, flip them over and repeat the speckling on the reverse side

Assembling the vases
- Attach two apple blossom stems together a few inches from their base using floral wire or string
- Repeat for the other pair of stems
- Place one attached pair into each vase, centered in the middle
- Fill the area on all sides of the stems with the completed eggs, adding them so that you have an even mix of colours in each vase
- Adjust the stems so that they are well supported by the eggs and perfectly centered

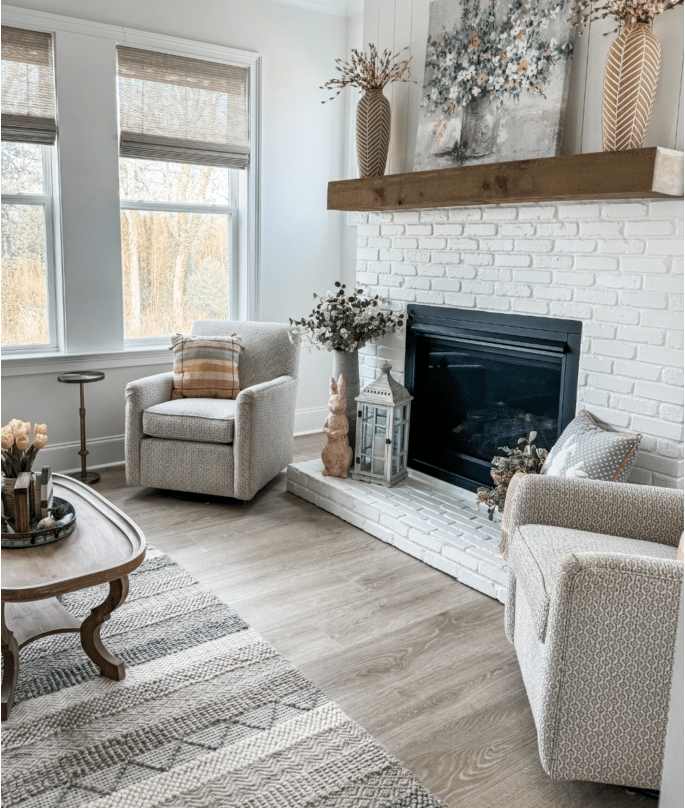
Styling your DIY Easter egg vase display
In our family room, I used one on either end of our fireplace mantle. They ground the mantle nicely and the grey eggs tie in with the mirror, while the blue eggs tie in with our wall colour (Behr Sparrow, if you’re interested!). I kept the rest of the mantle bare and opted for a double garland hanging from the mantle. I DIYed a burlap bunny banner and a beaded garland for a neutral look. Any garland that is neutral in colour or that picks up on one or more of the egg tones would be perfect.